Move, Turn, Resize and Snap
Down the right edge of the 3D view is a short rail. It decides what the coloured handles on the selected box do.
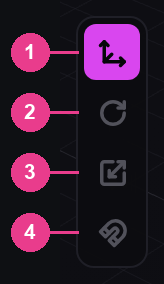
- Move — M. Slide the box around.
- Turn — R. Tilt it.
- Resize — S. Stretch it.
- Snap — Q. A helper, covered at the bottom of this page.
The first three are a set — one of them is always on. The colours never change meaning:
| Colour | Axis | Direction |
|---|---|---|
| Red | X | Left and right |
| Green | Y | Up and down |
| Blue | Z | Front and back |
Move
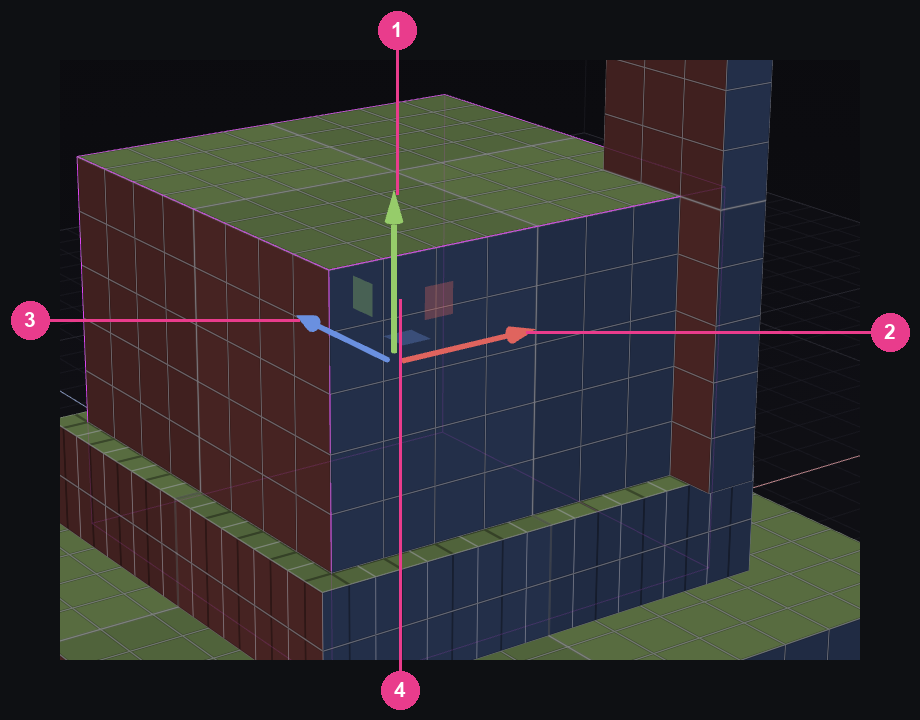
- The green arrow — drag it to lift or lower the box.
- The red arrow — left and right.
- The blue arrow — front and back.
- The little squares between the arrows — drag one to slide across two directions at once, flat along that plane.
Turn
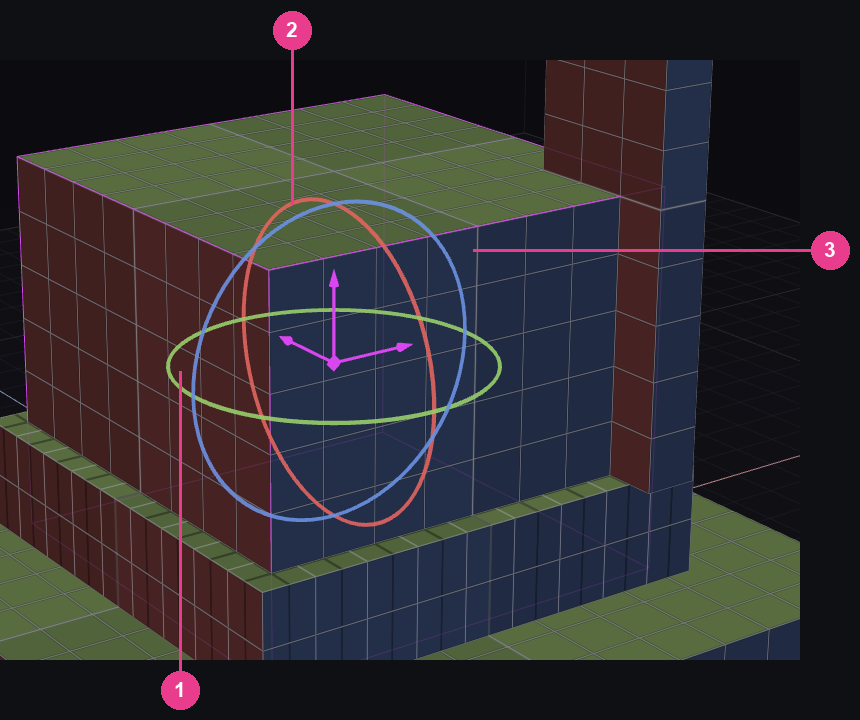
- The green ring — the flat one. Spins the box like a record.
- The red ring — tips it forwards and back.
- The blue ring — rolls it side to side.
Dragging a ring lands on the nearest of the five allowed angles. It is the same control as the Turn row in the INSPECTOR, so watch that row while you drag if you want to know exactly where you are.
Resize
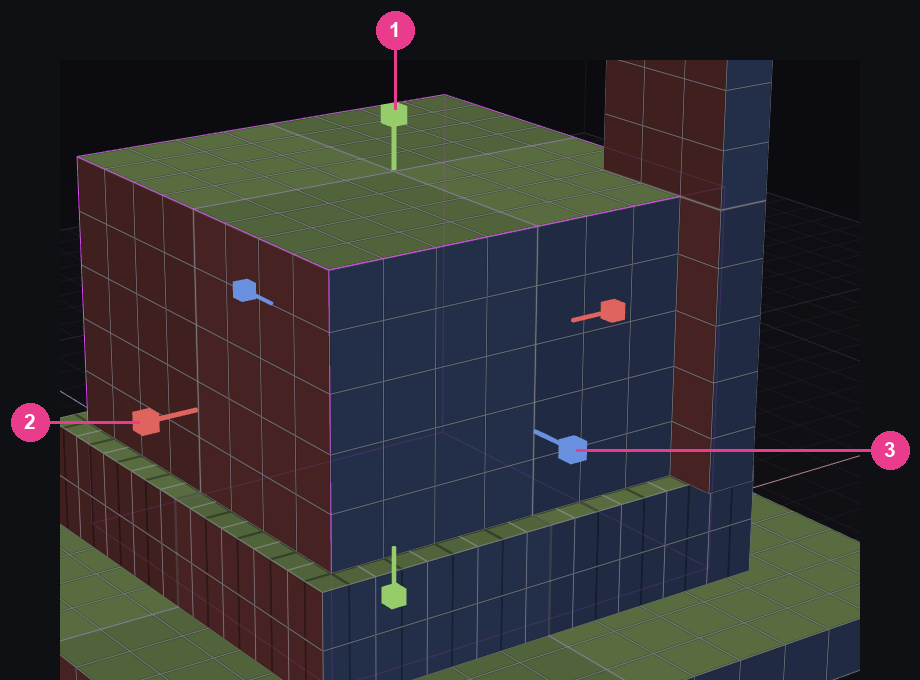
- Green, top and bottom — taller and shorter.
- Red, left and right — wider and narrower.
- Blue, front and back — deeper and shallower.
Each handle pulls its own face, so the opposite face stays put. That is usually what you want when a box has to meet another one exactly.
Two keys worth learning
They are printed at the left end of the status line, and they work while you drag any handle.
- Ctrl — fine. Smaller steps, for the last quarter of a unit.
- Shift — symmetric. The opposite side moves with you, so the box grows out from its middle instead of from one face.
Snap
Snap is the odd one out — it doesn't replace the other three, it sits on top of whichever is on. Turn it on and the button lights up.
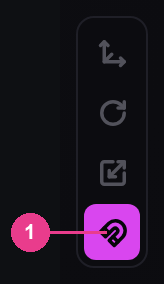
- Snap — lit, so it is on. Press Q again to turn it off.
With snap on, a new row appears in the INSPECTOR under Position.
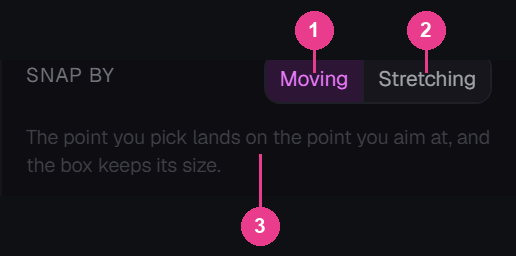
- Moving — the box slides over to meet what you aimed at and keeps its size.
- Stretching — the box stays where it is and grows to reach instead.
- The hint line — spells out what the current choice will do before you commit to it. Read it once and you'll never mix the two up.
Snap is how you close the hairline gap between two boxes without counting quarter units in your head.