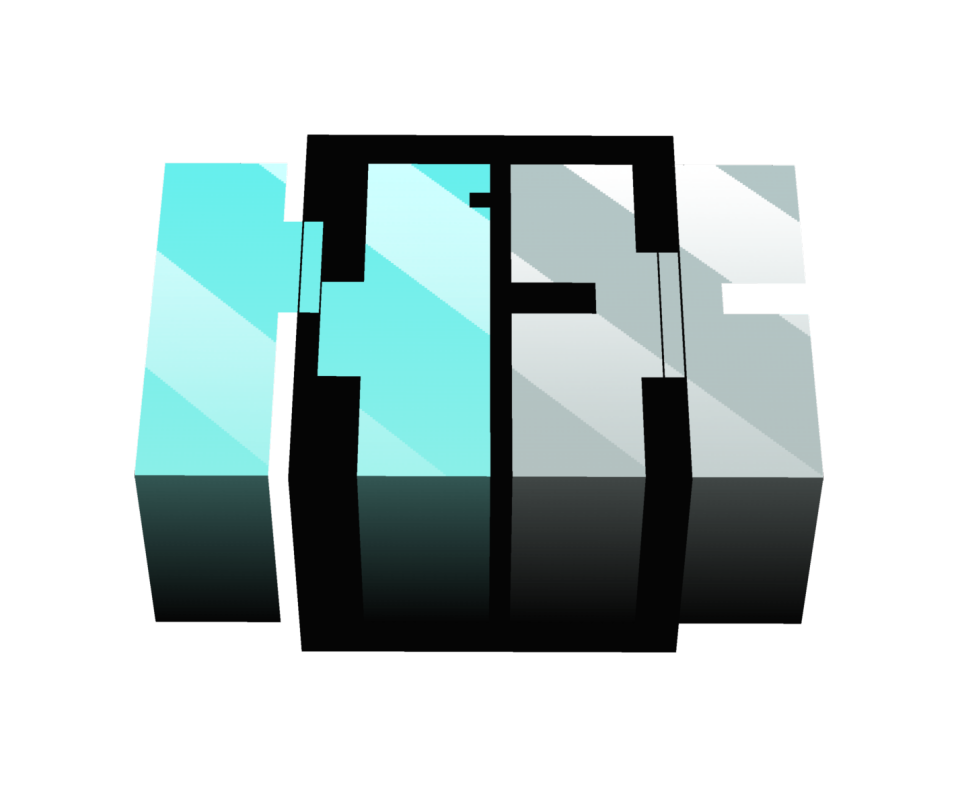
The inventory icon
Painting the armour decides how it looks worn. It does not decide how it looks sitting in your inventory. That's a separate little picture, and you have to make it.
1. Switch to Display mode
Click Display in the viewport bar — button 3 in the viewport bar. The right-hand panel changes to ICON.
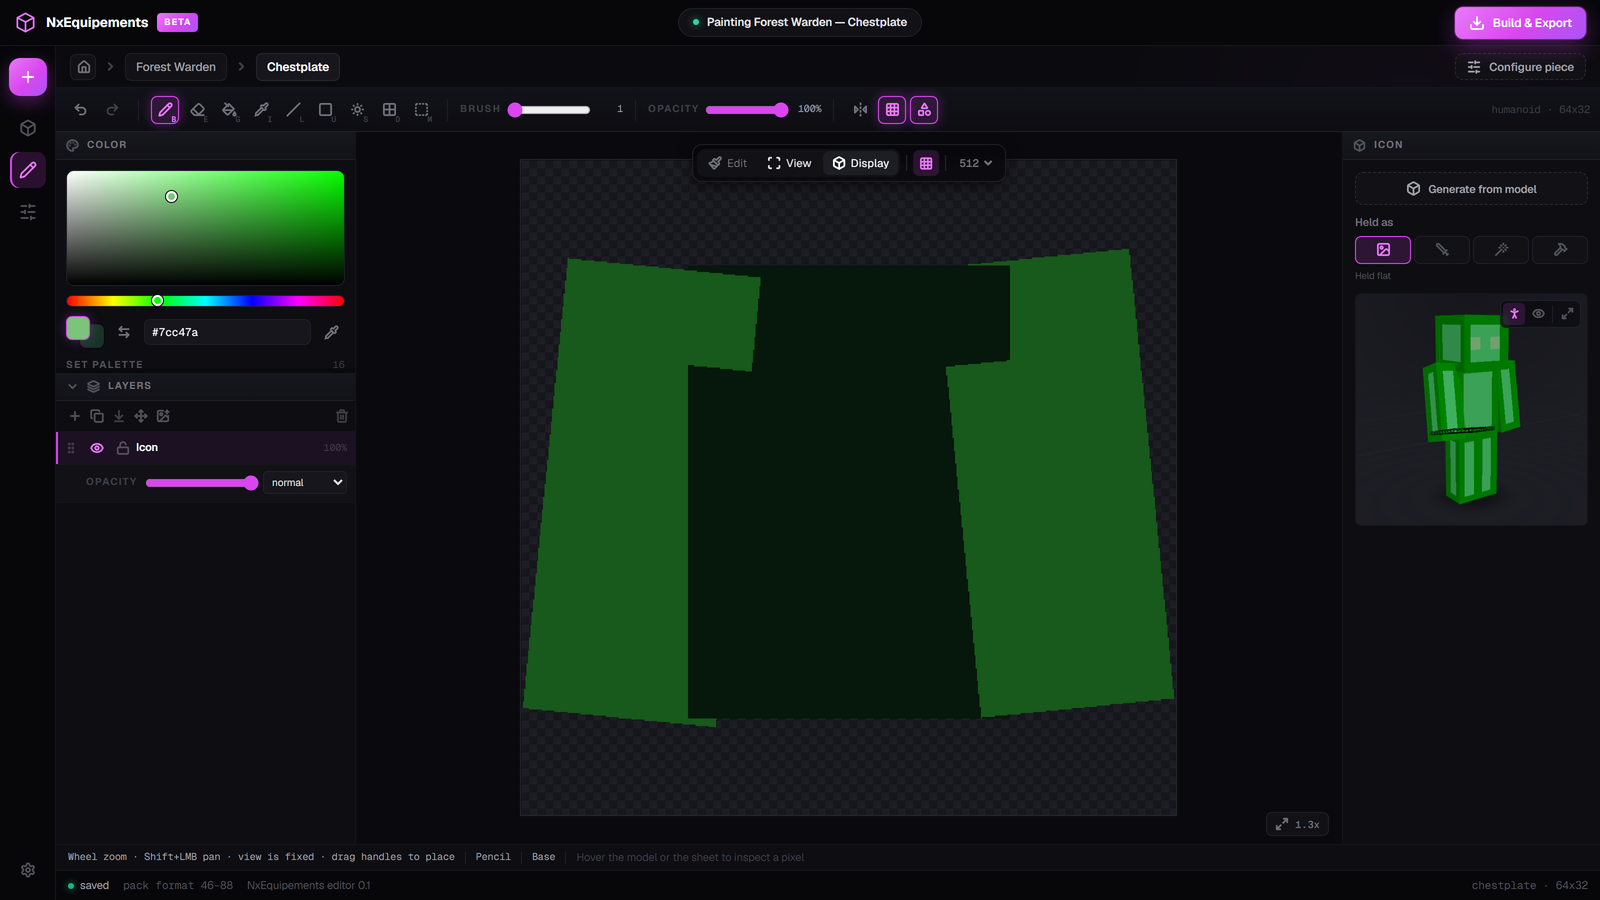
2. The ICON panel
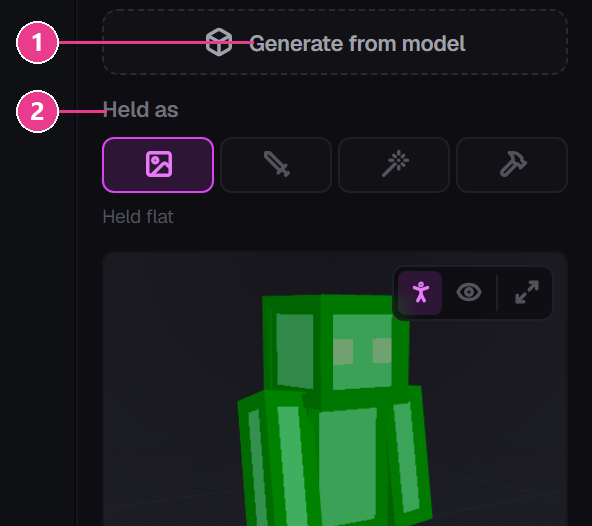
- Generate from model — bakes a picture of your 3D model onto the icon canvas. Start here.
- Held as — how the item sits in a player's hand. Four options, below.
3. Generate it from the model
This takes about ten seconds and looks good.
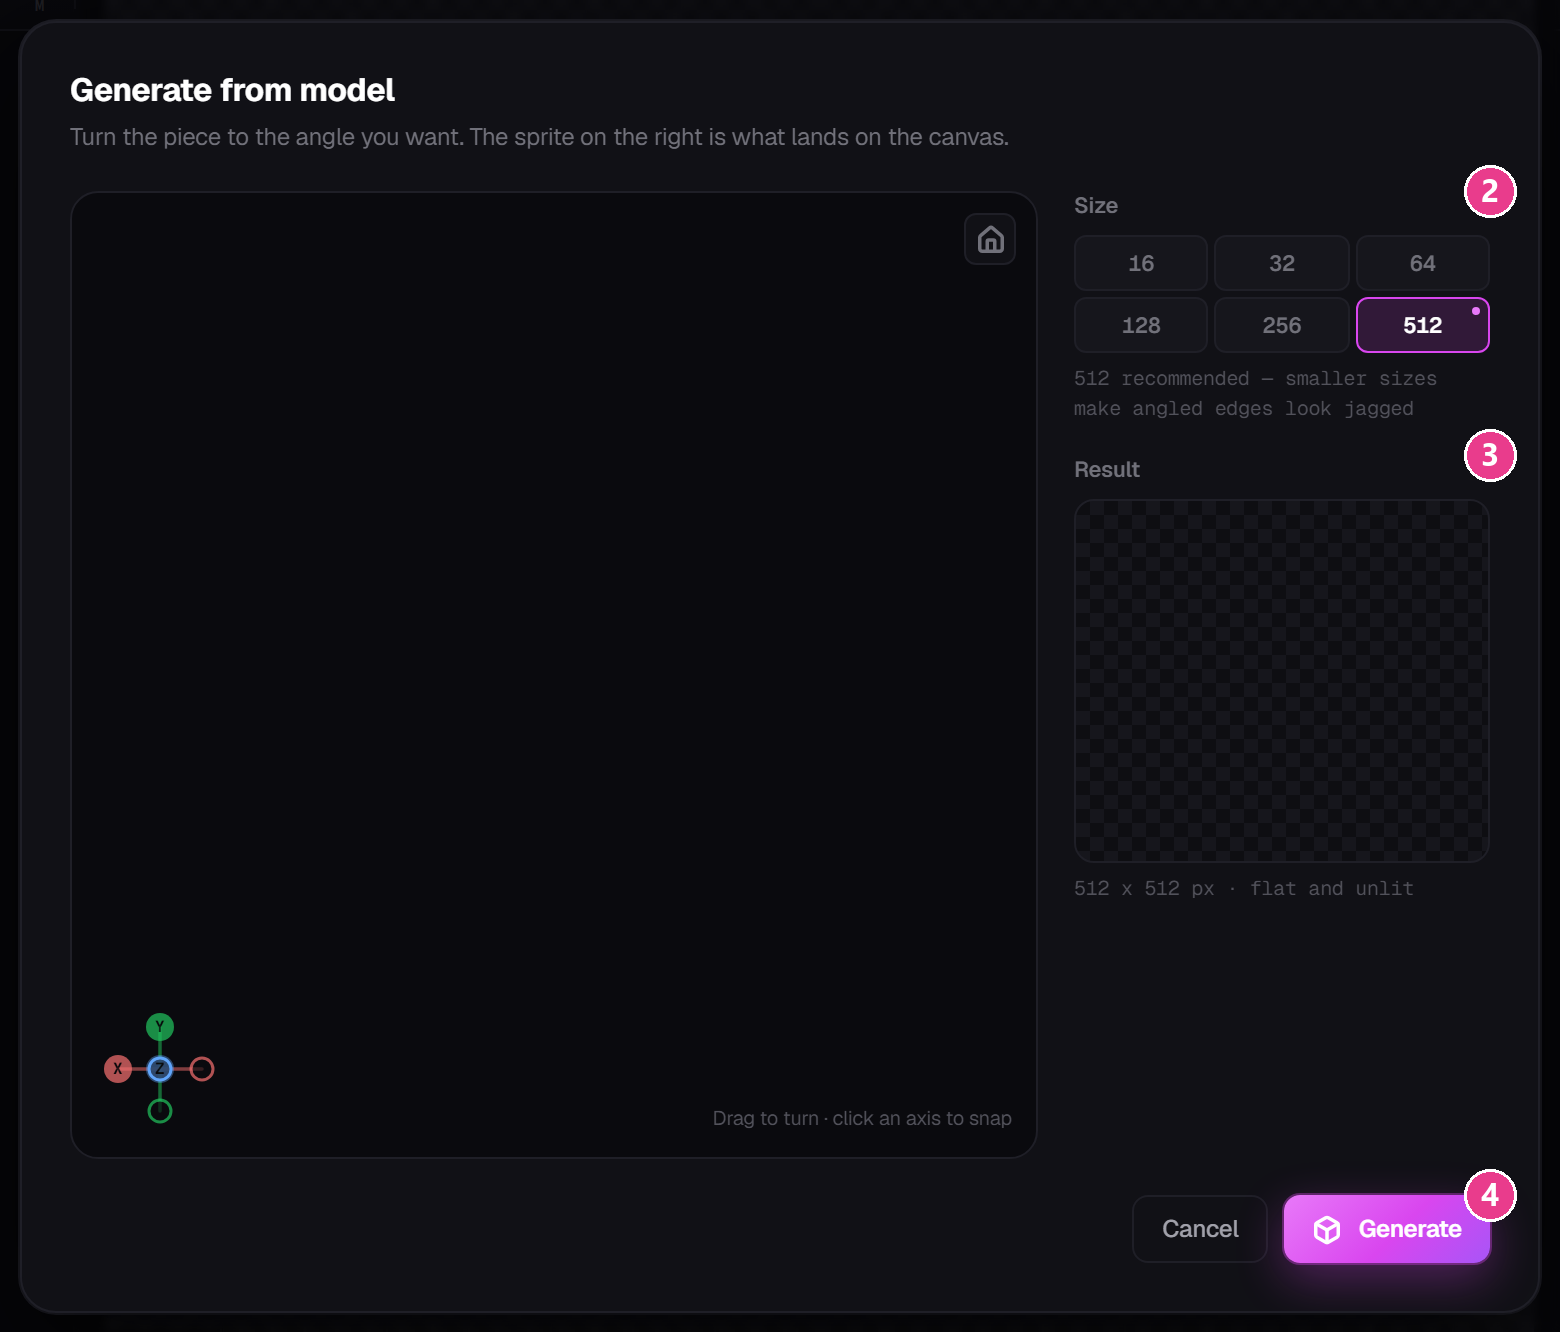
- The stage — drag to turn the piece to the angle you want. Click an arm of the axis widget to snap to a straight-on view.
- Size — how detailed the icon is. Take the one marked Recommended.
- Result — a live 1:1 preview of exactly what lands on the canvas.
- Generate — bakes it. Reads Replace canvas if the icon already has art on it.
4. Or draw it yourself
The icon has its own small canvas with the same tools, layers and colours as the main painter. Generate a base from the model, then tidy it up by hand — that's usually the best result.
How it's held
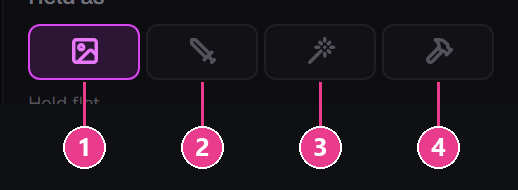
- Held flat — flat, like a normal armour piece or a map. The usual choice.
- Gripped — held like a sword.
- Gripped rod — held like a fishing rod or wand.
- Gripped low — held low, like a mace.
Below them a small preview shows the item in a hand. Switch between Third person and First person, and expand it for a closer look.
Icon size
Elytra on Bedrock
If the piece is an elytra you'll see a Bedrock section with a Custom look on Bedrock tick box. Read the warning before you use it: the texture shows, but gliding stops working. That's a Bedrock limitation with no way around it. Most people leave it off.