Recipe tab
Let players craft your gear instead of you handing it out.
1. Pick a type
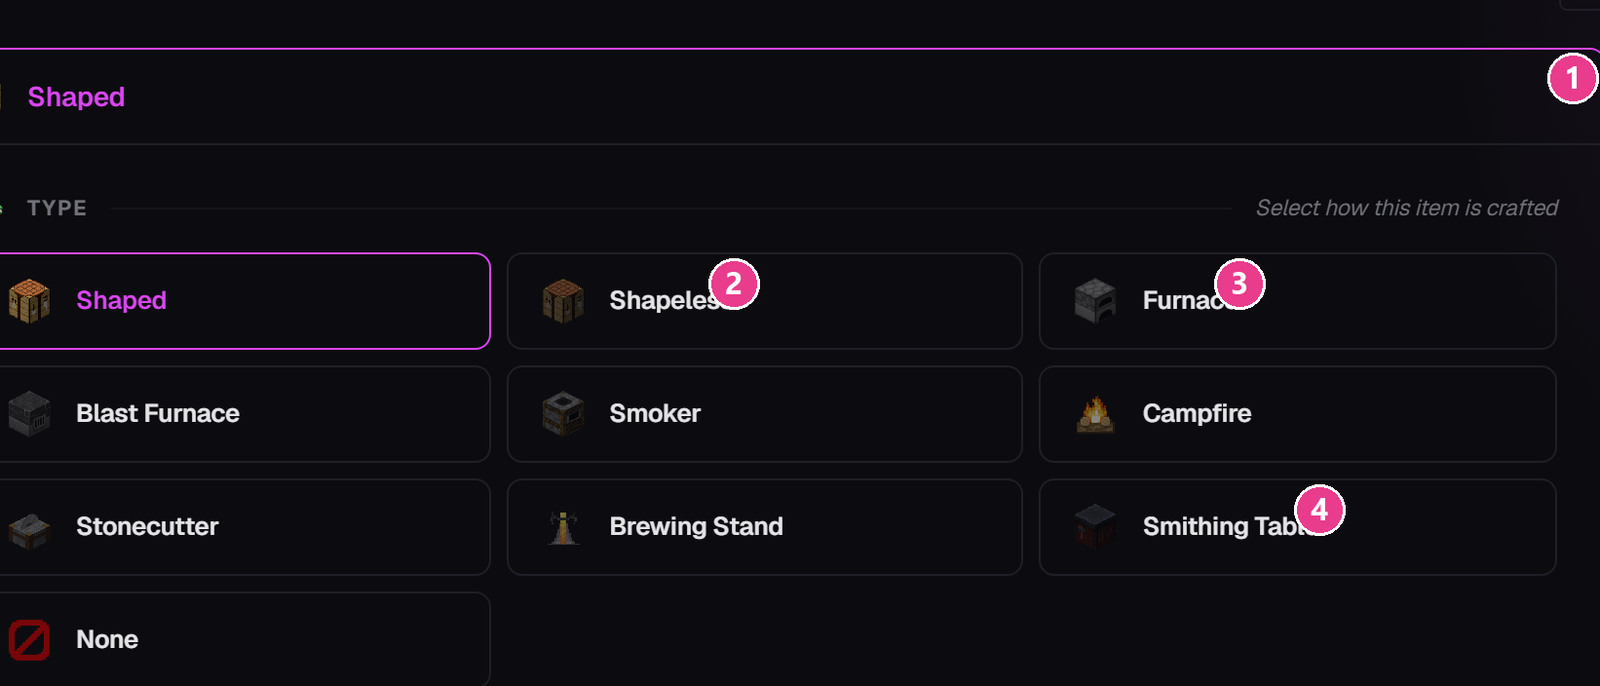
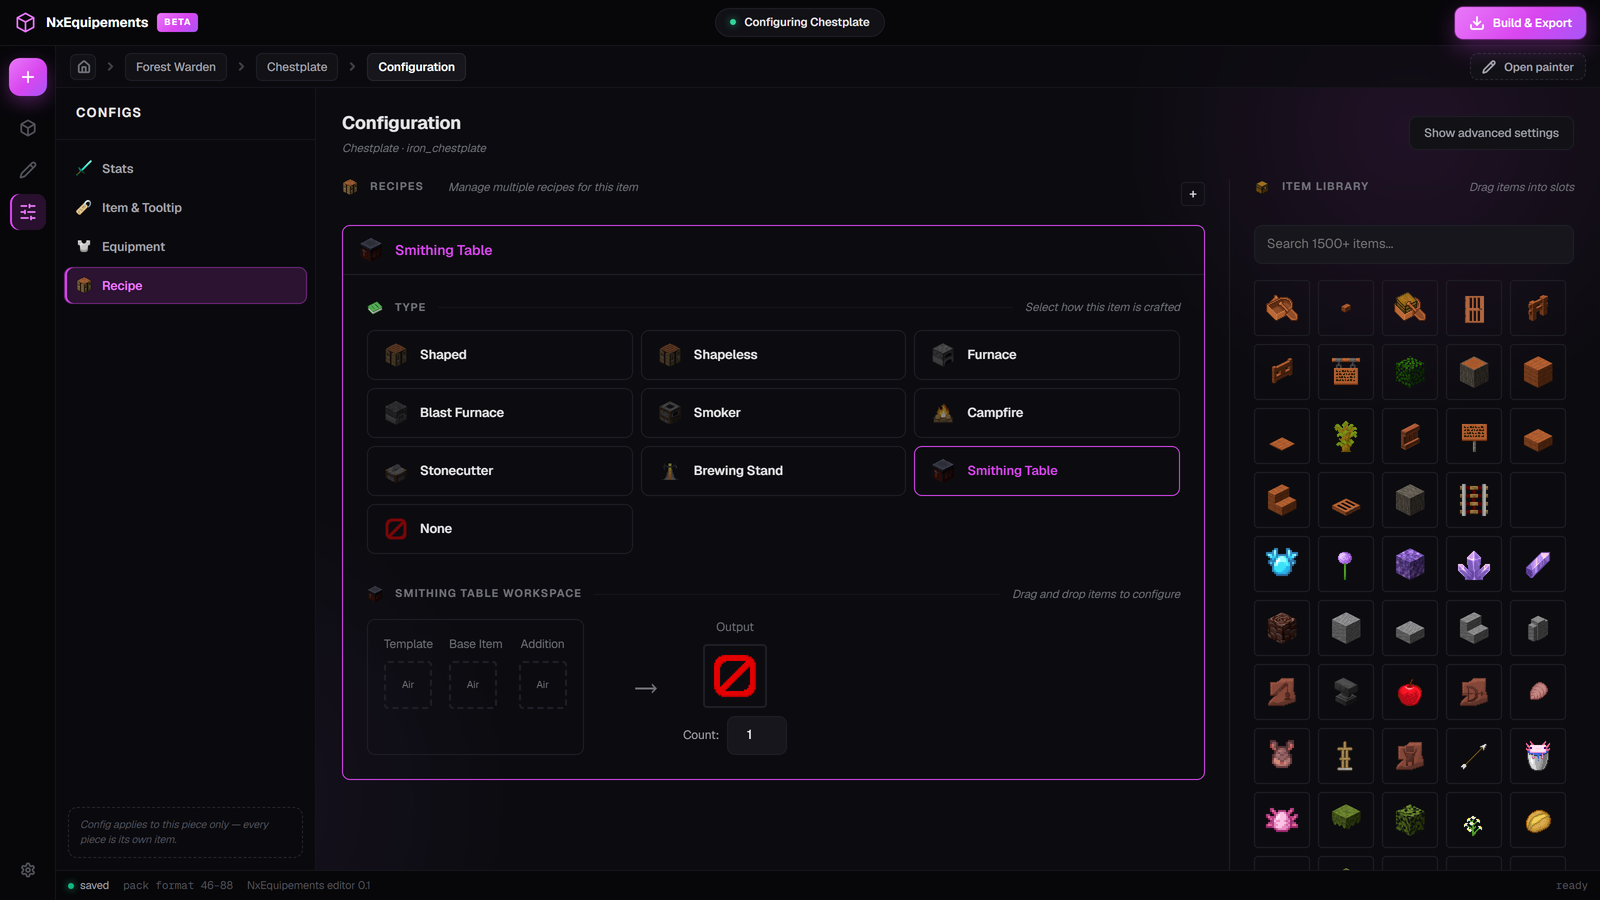
- Shaped — crafting table, ingredients in an exact pattern.
- Shapeless — crafting table, ingredients anywhere.
- Furnace — smelting. Blast Furnace, Smoker and Campfire sit beside it and work the same way.
- Smithing Table — upgrade an existing item, the way netherite gear is made.
The others are Stonecutter, Brewing Stand, and None — every piece starts on None, which means uncraftable.
2. Drag the ingredients in
Dragging is the only way. There's no box to type an item name into. Find the item in the Item Library on the right, then drag it into a slot.
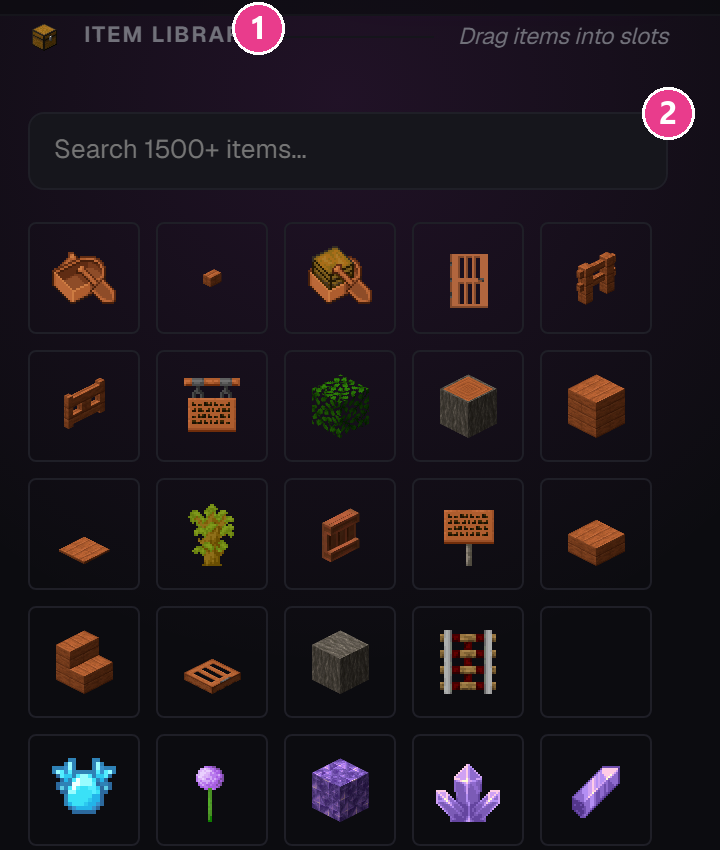
- Item Library — the hint next to it says “Drag items into slots”.
- Search box — type to filter over 1500 items.
See more... at the bottom loads another 100 items.
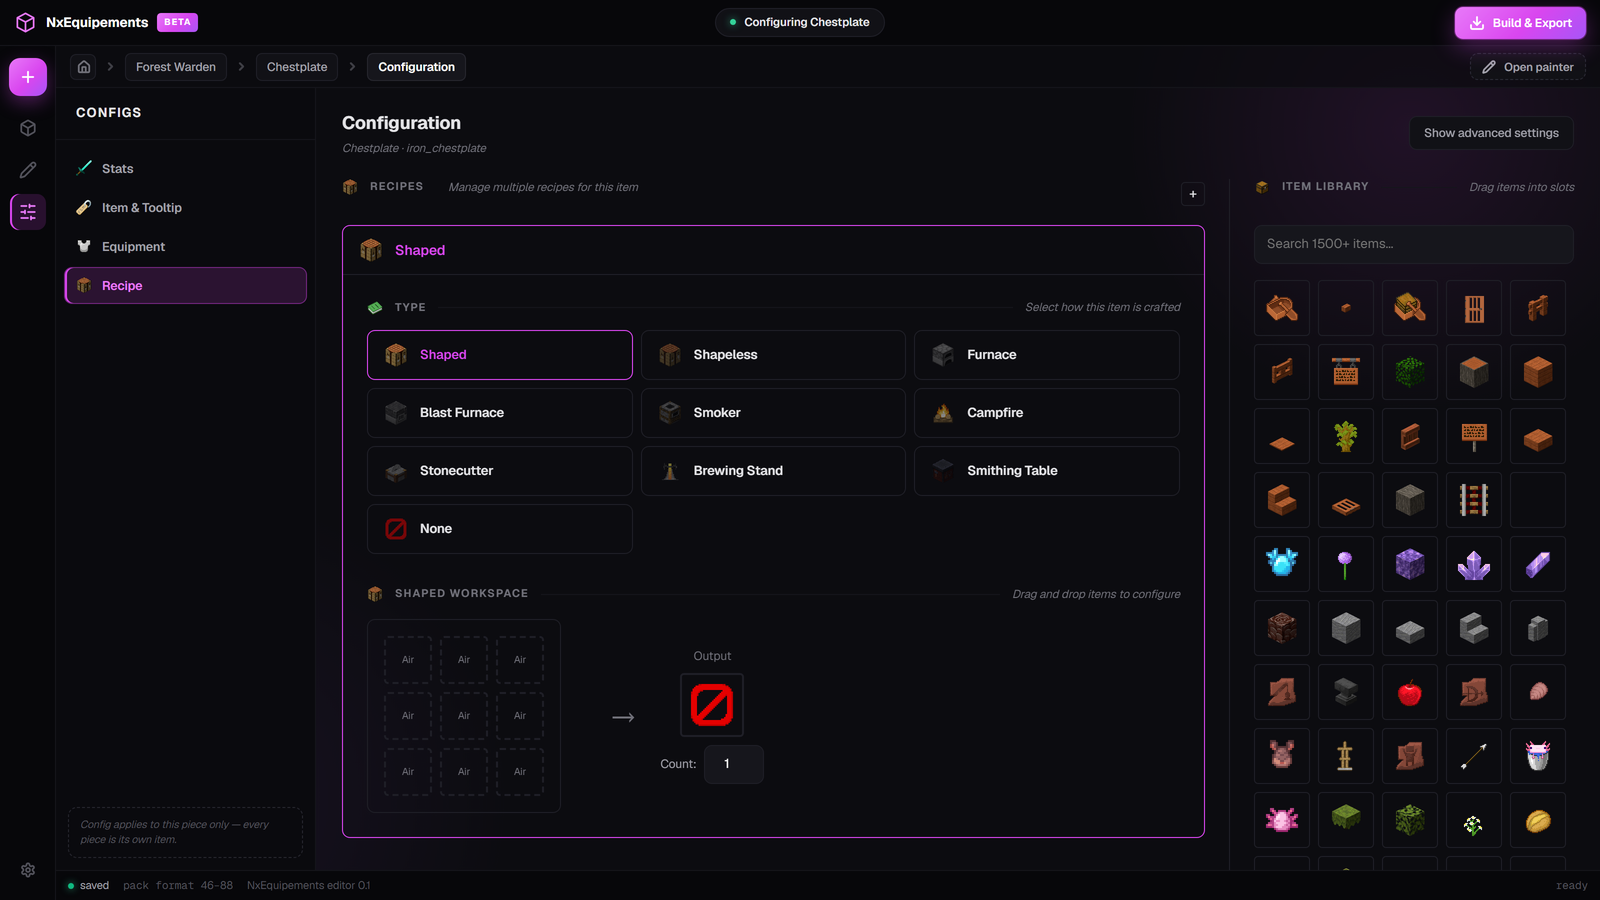
3. Check the output
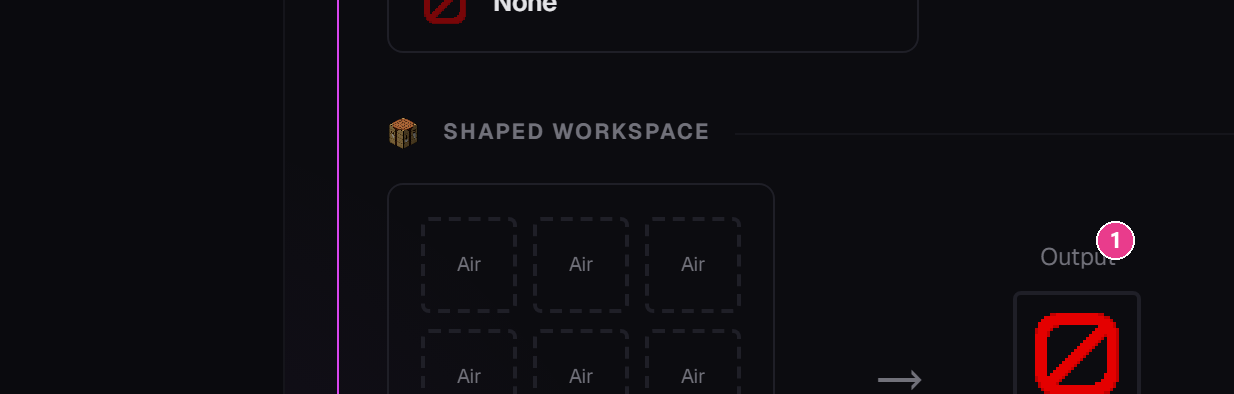
- Output — your painted item, with a Count box next to it. Leave the count at 1 for armour.
If the output shows a barrier block, you haven't painted an inventory icon yet. See The inventory icon.
Handy things to know
- Empty slots show
Air— leave them empty and they mean “nothing goes here”. - Drag a slot onto another slot to move an ingredient.
- The small ✕ on a filled slot clears it.
Each type's workspace
- Shaped — a 3×3 grid. Position matters exactly, just like vanilla.
- Shapeless — also a 3×3 grid, but position is ignored.
- Furnace / Blast Furnace / Smoker / Campfire — one Input Item, plus Cooking Time (Ticks) (200 = 10 seconds) and Experience.
- Stonecutter — one Input Block.
- Brewing Stand — Input Potion and Reagent.
- Smithing Table — Template, Base Item and Addition.
More than one recipe
The + button next to the Recipes heading adds another recipe for the same item, so it can be craftable and smithable. Each gets its own panel; the ✕ on a panel removes it.
Item groups aren't supported yet. You can't make an ingredient accept “any plank” or “any log” — pick one specific item. If you need alternatives, add a second recipe.