Your first deploy
The plugin is installed but empty. This page takes you from nothing to wearing custom gear. Follow it once and the whole product makes sense.
1. Open the editor
Join your server and run:
/nxe editorThe plugin replies in chat with a clickable link. Click it. The editor opens in your browser with a starter set already in it, so you have something to deploy straight away.
2. Go to Build & Export
Click Build & Export in the top-right corner of the editor.
3. Press Build pack
Press Build pack and wait a few seconds. When it finishes you get a green line telling you how many files it made.

- The build button. It says Build pack the first time and Rebuild after that.
4. Copy the command it gives you
Under Deploy, the editor shows a command like this:
/nxe applyedit a1b2c3d4e5f6Click the copy button next to it.
5. Paste it in game
Go back to Minecraft and run that command. The plugin downloads your sets and the resource pack from the editor and installs them.
6. Click the button in chat
The plugin then posts this in chat. Click the green button.
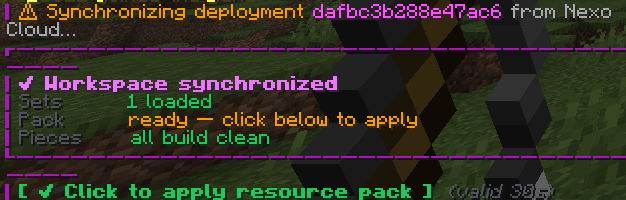
Your client downloads the resource pack. If you miss the 30 seconds, just run /nxe confirm instead.
7. Open the menu
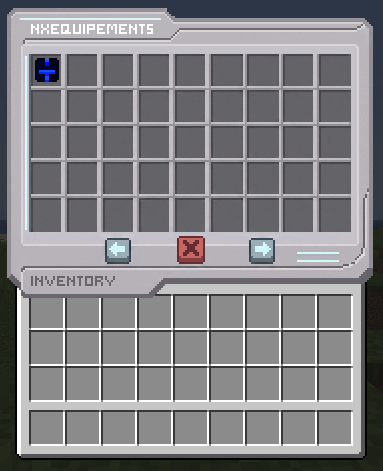
/nxe menuYou'll see your sets. There's one icon per set.
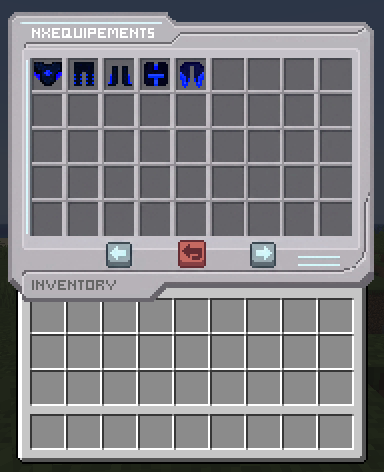
8. Click the set to see its pieces
Click the set icon and the menu fills with every piece in it. Take one and put it on.
That's the whole loop. From here on, every change you make follows the same four steps: build → paste the command → click the chat button → check the menu.
Now go and make something of your own: Make your first set.