🎨 The Texture Studio Interface
Open the Texture Studio by clicking TEXTURE STUDIO in the Menu Builder's top bar (or directly via your editor session).
🔀 The Three Workspace Modes
The Texture Studio has three completely different modes, switched via the top navigation. Each one transforms the entire interface.
1️⃣ Layout Mode
The simplest mode. Click any slot in the canvas to toggle whether that slot appears in the final GUI background. Useful for designing menus where you only want certain slots visible (like a 3-column shop with the rest hidden).
2️⃣ Menu Paint Mode
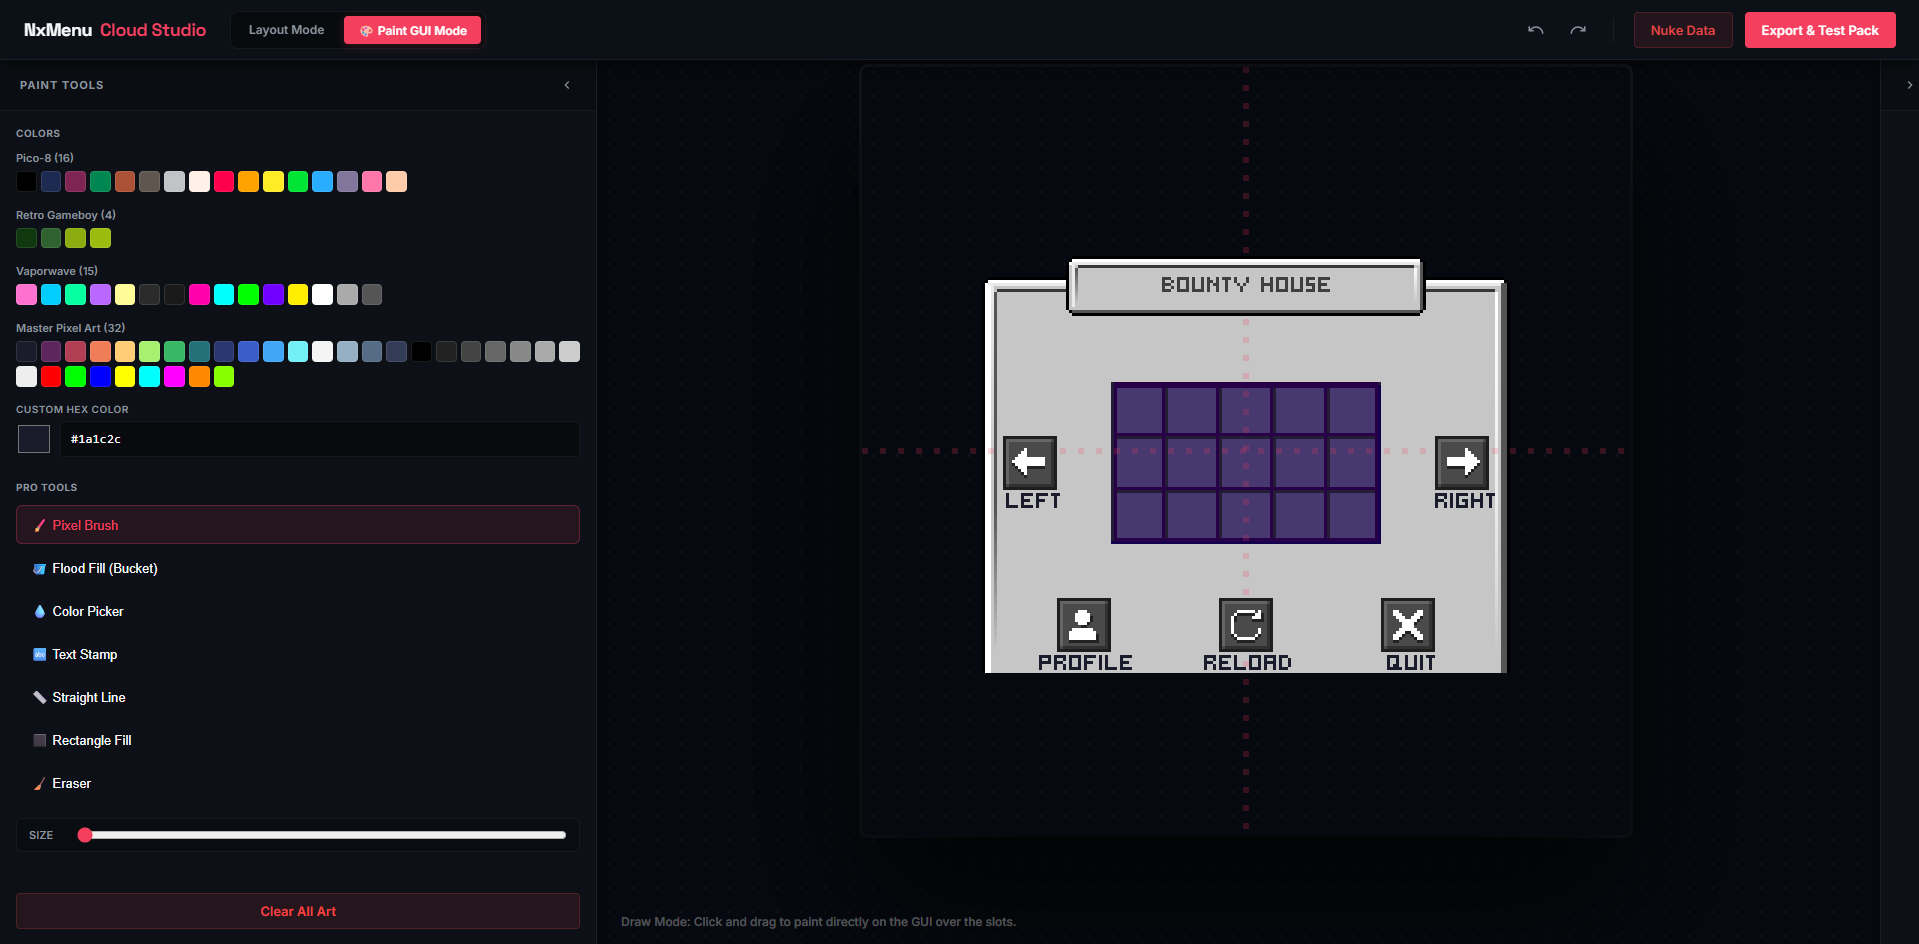
A full pixel-art editor for painting your GUI backgrounds. The left sidebar transforms into a tool panel with palettes, brushes, and a complete layer system.
Tools available:
- Brush — Standard paint with adjustable size (1–10 pixels).
- Fill — Flood-fill bucket. Replaces all connected pixels of the same color.
- Eyedropper — Pick a color from the canvas (auto-switches back to Brush after).
- Text — Stamp text using a built-in pixel font.
- Line — Click and drag to draw straight lines.
- Rectangle — Click and drag to draw rectangles.
- Eraser — Removes pixels from the active layer.
- Mirror X / Y — Symmetry toggles. Anything you draw mirrors across the chosen axis.
Color Palettes: Aseprite-inspired curated palettes including Pico-8 (16), Retro Gameboy (4), Vaporwave (15), and Master Pixel Art (32). Plus a custom color picker with hex input.
3️⃣ Custom Icons Mode
An 18×18 pixel-art editor for designing clickable item icons that map to PAPER:CMD in your menus.
Has the same tool palette (minus Text and Transform), 1× / 2× / 4× live preview, and an icon library on the left for quick switching between your saved icons.
📚 Layer System (Menu Paint Mode)
Each painted GUI is built from multiple stackable layers — just like Photoshop or Aseprite.
- Visibility toggle (eye icon) — Hide a layer without deleting it.
- Opacity slider — 0–100% per layer.
- Move Up / Down — Reorder z-stacking.
- Free Transform (▒ icon) — Drag to move, corner handles to resize, with Flip X/Y in the toolbar. Press Enter to apply, Escape to cancel.
- Duplicate / Merge Down / Flatten — Standard layer ops.
- Import Image — Upload any PNG/JPG and it pastes onto a new layer (auto-scaled to fit, max 256×256).
- Nudge buttons — 1px directional movement of the active layer.
- Double-click layer name — Rename the layer.
⌨ Keyboard Shortcuts
| Shortcut | Action |
|---|---|
Ctrl+Z | Undo (mode-aware: paints in Paint mode, icons in Icons mode) |
Ctrl+Y / Ctrl+Shift+Z | Redo |
Enter | Apply transform (when transforming a layer) |
Escape | Cancel transform |
Middle-click on icon canvas | Pick color from that pixel |
📎 Sharing Your Workspace
The Share button in the top bar generates a permanent URL containing your entire workspace. Anyone who opens that URL can clone your art into their own browser. Great for collaborating or backing up to a different machine.